Step 1 -
Thoroughly clean the eye area with a gentle foam shampoo then dry any excess moisture with a tissue. Apply the adhesive on the eyelid, as close to the lash line as possible, without touching the lashes
Step 2 -
Stretch and curve the Thuya Silicone Pads, that will help to adapt them better to the eyelids and adhere it on the glue. Press down and hold for a minute so it can set and dry on the eyelid. Apply the adhesive on the shield and lift the lashes with an upward motion. Make sure the lashes are separated and lined up in the same direction for the best results.
Step 3 -
Apply Permanent Gel (always dispose of the first drop of product). Spread the product from the base to the middle part of the eyelid, leaving approximately 1mm from the lash line. Cover the eyelashes with cling wrap and let it process for UP TO 15 minutes depending on hair thickness. Then remove the product with a dry cotton swab.
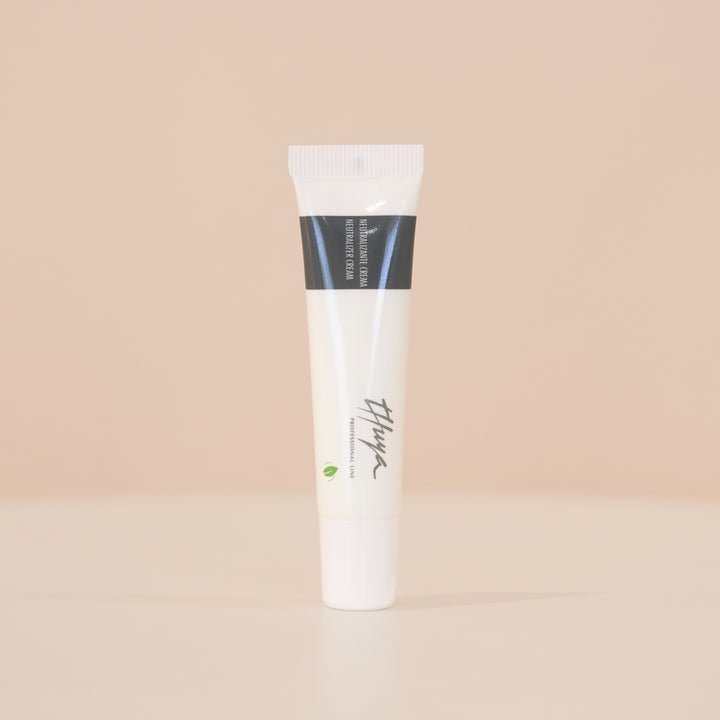
Step 4 -
Apply Neutraliser Cream and Spread the product from the base to the middle part of the eyelid, leaving approximately 1mm from the lash line. Cover the eyelashes with cling wrap and let it process for the same amount of time as the permanent gel. Then remove the product with a dry cotton swab.
Step 5 -
Apply Protector Paper on the lower part of the eye making sure the lower eyelashes are on top of the Protector Paper. Mix the Thuya Dye and the special Dye Solution (1:1 ratio). Apply the mix on the eyelashes and let it act for 15 minutes. After the exposure time, remove the excess product with a dry cotton swab followed by a damp cotton pad making sure all tint is fully removed.
Step 6 -
To finalise the service, apply the Lash Filler BTX on the lashes from root to tip by using a micro brush. Leave it on for 15 minutes. After the exposure time, remove any excess with a mascara brush.

 Same Day Dispatch if ordered before 12PM AEST Mon-Fri
 Made with love in Barcelona, Spain
 Professional Quality